Downward-Facing Dog places direct compressive and shear forces across the radiocarpal and midcarpal joints. Practitioners frequently report wrist soreness, dull aches along the dorsal wrist crease, or pins and needles across the palm within minutes of weight bearing. This discomfort is rarely an unfixable defect of the joint itself. Instead, it reflects an imbalance between wrist extension angles, contact surface area on the mat, and how well the shoulder girdle distributes load away from the hand.
When you support body weight with your wrists extended toward 90 degrees, the carpal bones press firmly against the distal head of the radius. If the muscular structures of the forearm, upper back, and shoulder fail to bear their share of the load, that skeletal compression causes inflammation in the wrist capsules and strains the flexor retinaculum. By adjusting your alignment, engaging the serratus anterior, and deploying simple props when necessary, you can alter the forces passing through the wrist joint and maintain an effective practice without pain.
Carpal Tunnel Pressure in Weight-Bearing Postures
The carpal tunnel is an inelastic passage on the anterior side of the wrist. Its floor and walls consist of the carpal bones, specifically the scaphoid, lunate, triquetrum, pisiform, trapezium, trapezoid, capitate, and hamate. The roof is formed by the flexor retinaculum, a dense band of connective tissue. Packed inside this narrow canal are nine flexor tendons and the median nerve. Because the boundary walls cannot stretch, any decrease in canal volume or increase in tissue volume dramatically raises the internal pressure.
In a neutral wrist position, baseline pressure inside the carpal tunnel measures between 2 and 10 mmHg. Laboratory measurements show that passive extension of the wrist to 90 degrees can drive internal fluid pressure past 35 to 45 mmHg. When external body weight presses down on the heel of the hand, that figure spikes higher. Pressures exceeding 30 mmHg impede blood circulation through the microvascular capillary beds supplying the median nerve. The outcome is the classic paresthesia: numbness, tingling, and aching across the thumb, index, middle, and radial half of the ring finger.
In Downward Dog, your body forms an inverted V, which ideally splits your weight between the upper and lower extremities. If tight hamstrings, calves, or latissimus dorsi muscles stop your pelvis from shifting backward, your torso moves forward over your hands. This shift turns an angled load into a vertical plunge. The extension angle of the wrist deepens, pressing the dorsal margin of the radius hard into the scaphoid and lunate bones while compressing the carpal tunnel anteriorly against the floor.
| Wrist Angle | Primary Tissues Loaded | Mechanical Impact |
|---|---|---|
| 90 degrees (Unmodified floor press) | Carpal tunnel contents, dorsal radiocarpal ligament | Maximum median nerve compression, direct bony impingement at dorsal margin. |
| 70 to 75 degrees (Wedge or mat roll) | Metacarpal heads, deep forearm flexors | Marked reduction in carpal canal hydrostatic pressure; load shifts into tendons. |
| 55 to 60 degrees (Block on incline) | Forearm musculature, shoulder retractor-depressor chain | Minimizes joint shear; prioritizes muscular stability over joint compression. |
Hand Placement: Spread Width and Finger Press
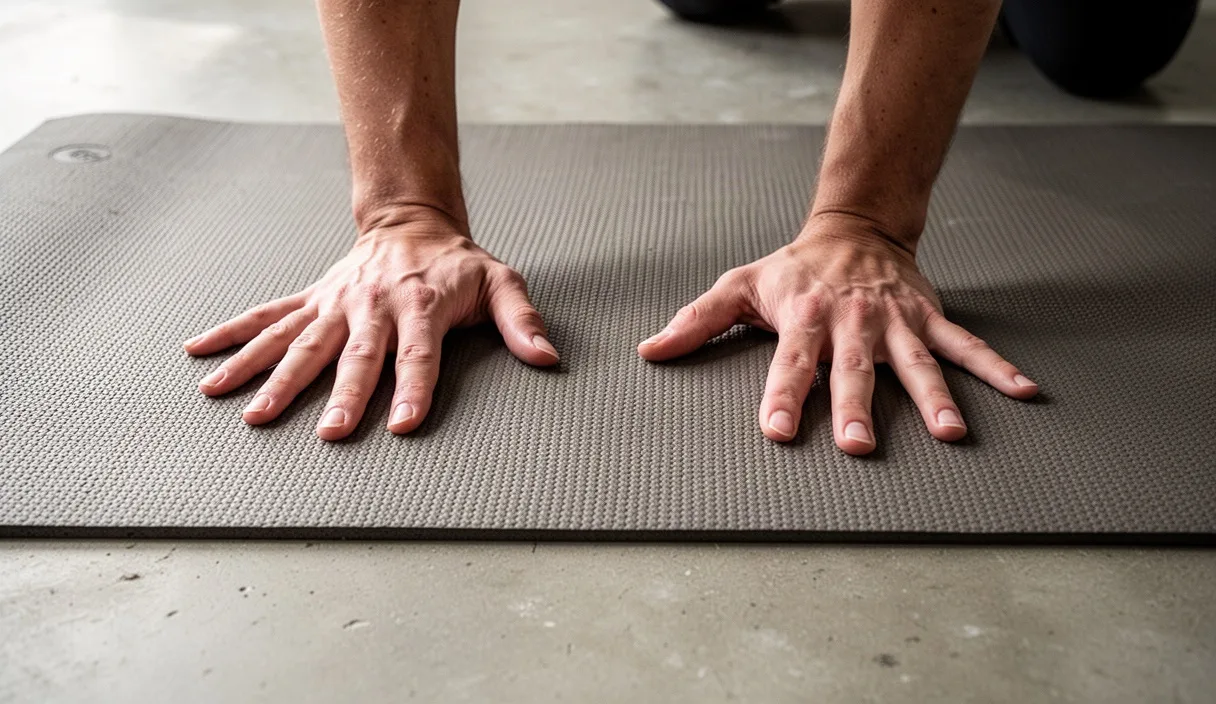
Protecting the wrist begins with how your hand meets the floor. A frequent mistake is dumping weight into the heel of the hand, particularly on the ulnar side over the pisiform bone. This collapses the transverse carpal arch and drives point pressure right into the nerve canal. Your goal is to convert the hand from a passive landing pad into an active, muscular arch that grips the mat.
Begin by setting your hands shoulder-width apart. Point your index fingers directly forward or rotate the hands slightly outward by 5 to 10 degrees. This minor outward rotation relieves impingement in the subacromial space of the shoulder and helps seat the radius evenly across the carpal bones. Spread your fingers wide enough to maximize surface contact, but avoid forcing an extreme stretch that hyperextends the knuckles or strains the web spaces between the fingers.
Distribute weight through the hand using the physical principles of Hasta Bandha, the hand lock. Follow this sequence to secure the grip:
- Plant the primary weight bearing points: Press the base of the index finger, the base of the little finger, and the inner and outer heel of the palm firmly into the mat.
- Prioritize the index knuckle: The metacarpophalangeal joint of the index finger tends to lift off the floor. Root this knuckle down firmly to prevent the wrist from tilting toward the ulnar edge, where the small bones are poorly equipped to handle excessive downward force.
- Claw the mat with the distal pads: Flex the distal interphalangeal joints slightly, pressing the fleshy tips of all ten fingers into the rubber. You will see the fingernails blanch slightly as the flexor digitorum profundus contracts.
- Maintain the palmar suction cup: By pressing through the finger pads and the perimeter of the palm, you create a slight doming effect in the center of the hand. This physical lift takes direct pressure off the center of the carpal tunnel.
By engaging the finger flexors, you recruit the muscular system of the forearm to support the skeleton. Active muscle tension takes the strain off passive ligaments and joint capsules, noticeably cutting the impact forces felt at the dorsal crease of the wrist.
Scapular Mechanics: The Role of the Serratus Anterior
The wrist is the terminal link in the kinetic chain of the upper extremity. When wrist pain proves stubborn despite good hand mechanics, the primary dysfunction usually lies at the shoulder blade. If the muscles that control the scapula fail to fire, the shoulder joint collapses downward, transferring the torso's mass straight down the humerus and radius into the wrist.
The serratus anterior is the key muscle for offloading this line of force. Originating along the lateral surfaces of the upper eight ribs and inserting along the anterior medial border of the scapula, it upwardly rotates and protracts the shoulder blade. In Downward-Facing Dog, your arms are positioned in forward flexion. To support this position, the scapulae must rotate upward so the glenoid fossa faces the hands, creating a secure bone-and-muscle shelf for the head of the humerus.
When the serratus anterior is inactive, the scapulae wing or collapse toward the spine under the weight of the torso. The humerus presses against the upper rim of the glenoid, and the arm locks out passively. You can feel the result right away: your weight shifts forward, the angle between the back of the hand and the forearm sharpens, and the wrist joint bears the brunt of the load. When the serratus anterior fires correctly, it pulls the shoulder blades flat against the rib cage and pushes the thorax up and away from the floor.
To engage this system in Downward Dog, press the floor away actively through your hands while thinking about wrapping your outer armpits toward your chest. This external rotation of the humerus, combined with active scapular upward rotation, creates broad space across the upper back. The muscular effort of pushing the floor away transfers your center of mass back toward the pelvis and feet, unloading the arms and sparing the wrists.
Three Prop Adjustments for Persistent Soreness
Modifying joint angles with props is not a compromise; it is an intelligent biomechanical adjustment. If you have a low tolerance for wrist extension due to past fractures, tendinitis, or ganglion cysts, props can keep your practice consistent while your tissues adapt.
The Foam or Wooden Wedge
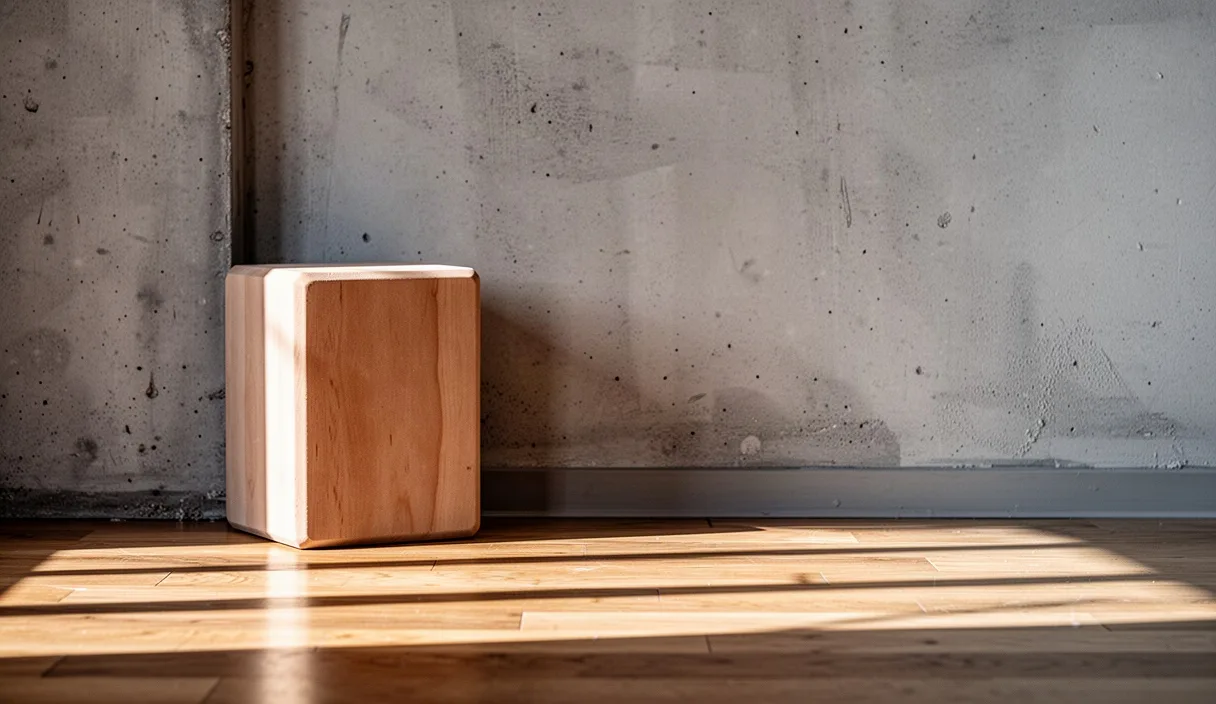
Place a specialized yoga wedge horizontally across the top of your mat with the thick edge facing toward you. Rest the heels of your palms on the incline while your fingers point down the slope onto the flat floor. This wedge decreases the extension angle at the wrist by 12 to 18 degrees. That reduction keeps the joint well below the threshold where carpal tunnel pressures reach problematic levels, letting you practice sustained holds without impinging the joint.
Tilted Blocks Against the Baseboard
Set two high-density foam or wooden blocks at an angle against a baseboard or wall, with the low ends resting on your mat. Place the heels of your hands on the low ends and grip the top edges of the blocks with your fingers. This modification alters the physics of Downward Dog in two ways: it decreases the wrist extension angle and raises the entire upper body relative to the floor. Raising the hands shifts roughly 15 to 25 percent of your total body weight back into your legs, which immediately offloads the hands and wrists.
The Folded Mat Lip
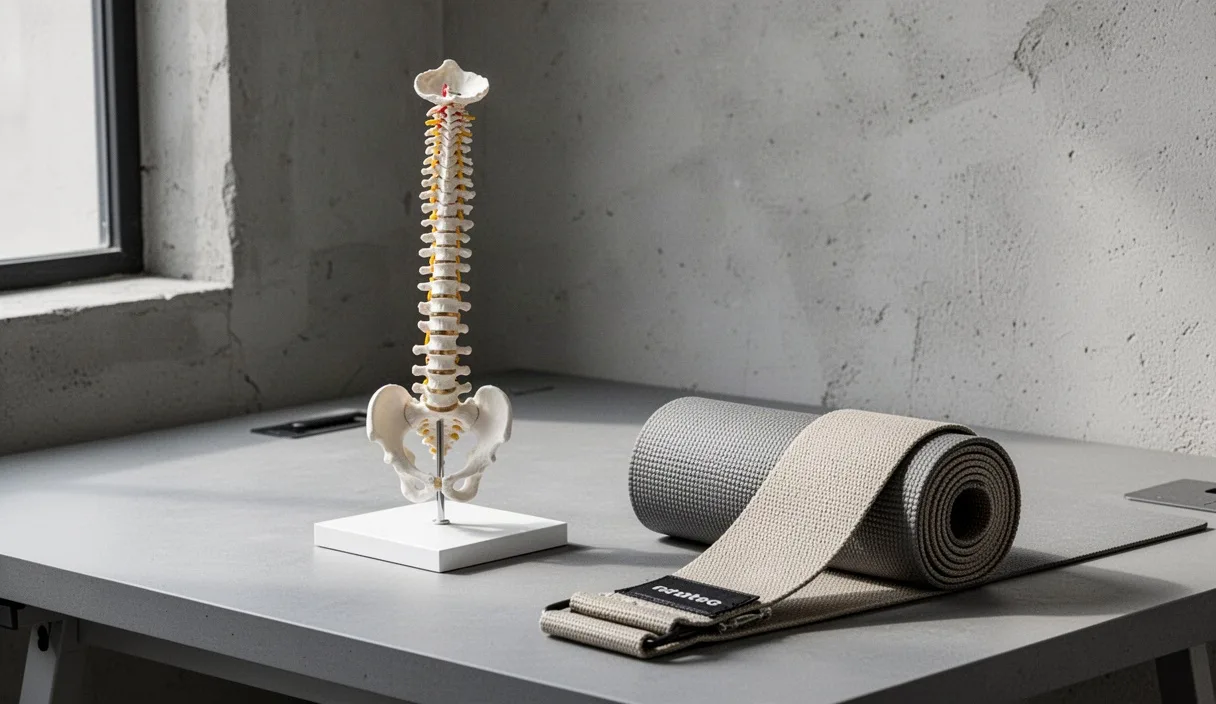
If you practice without extra gear, roll up the front edge of your yoga mat two or three times to form a small, firm lip roughly 12 to 15 millimeters high. Place the heels of your palms along this rolled edge while letting your fingers rest on the single layer of mat ahead. This slight slope opens the wrist angle just enough to take the pinch out of the dorsal wrist joint, giving you a quick, reliable modification in any setting.
Warm-Up Drills for Forearm Flexor Mobility
Tissues tolerate load far better when properly prepared. Going straight from typing at a desk into a weight-bearing Downward Dog shocks cold, shortened forearm flexors. The following three drills increase blood flow, mobilize the wrist flexors, and prepare the nervous system for loading.
- Quadruped Dynamic Rocking: Come to your hands and knees with your wrists aligned directly under your shoulders and your knees under your hips. Keep your elbows locked and your fingers pointing forward. Slowly shift your shoulders forward past your fingertips until you feel mild tension across the anterior wrist, pause for two seconds, and rock back. Perform 10 to 12 controlled reps. Next, rotate your hands outward 90 degrees so the fingers point toward the edges of the mat, and rock gently side to side for 10 reps.
- First Knuckle Lifts: Begin on hands and knees with fingers spread wide. Keep your fingertips and all metacarpophalangeal knuckles pressed firmly into the floor. Contract your forearm muscles to lift only the heels of your palms 2 to 3 centimeters off the mat, moving through a range similar to an active calf raise for the hand. Lower down slowly under control. Complete 2 sets of 8 to 10 repetitions to activate the flexor digitorum superficialis and build stability across the base knuckles.
- Reverse Wrist Loading: Still on hands and knees, turn one hand over so the back of the hand rests on the mat with fingers pointing back toward your knee. Keep the elbow straight and apply only light weight, roughly 10 to 20 percent of your body weight. Gently rock your hips back toward your heels to stretch the wrist extensors and open the joint capsule in flexion. Hold for 20 to 30 seconds per side. If you feel any sharp pinch, back off immediately.
Common Mistakes
Practitioners often introduce unwanted wrist strain through minor oversights in their setup. Watch out for these three habits:
- Cupping the palm: Allowing the base of the index finger to lift off the mat creates an unstable hand foundation. This forces the small muscles along the pinky side of the hand to take excess weight and pinches the ulnar nerve against the carpal bones.
- Flaring the elbows outward: Letting the elbows flare wide internally rotates the humerus, causes the scapula to drop into anterior tilt, and drives uneven diagonal shear stresses straight into the radial side of the wrist.
- Refusing to bend the knees: If your hamstrings are tight, keeping your legs ramrod straight pulls your pelvis forward and dumps your body weight over the wrists. Bending your knees allows your spine to lengthen and lets you push your hips up and back, shifting weight into your legs.
Practical Application and Assessment
Incorporate these changes systematically over your next four weeks of practice. Begin every session with the forearm warm-up drills before putting weight on your hands. During your first three Downward Dogs of any class, spend three slow breaths checking your setup: spread your fingers, root down through the index knuckle, engage the serratus anterior to push the floor away, and bend your knees enough to press your hips back toward the rear wall.
If you feel sharp or localized pain at the joint margin, set your pride aside and use a wedge or angle blocks. Pain is concrete feedback about mechanical stress, not an obstacle to push through. If you experience persistent numbness, tingling that lasts after your practice, or pain during routine non-weight-bearing movements, consult a physical therapist or sports medicine physician to evaluate your wrists for structural inflammation or nerve entrapment.